How to take screenshots of your application
If you plan to publish your application to Google Play, you will be required to take at least two screenshots of your application. Following these steps will allow you to take screenshots of your application on your phone or tablet.
Android 4.0 and Up
Getting setup to take screen shots for the first time on older versions of Android was a pain, but as of Android 4.X it got much easier. Now you don't need to install anything onto your computer instead you just need to press a few buttons:
1. Press and hold the Power button and the Volume-Down button at the same time.
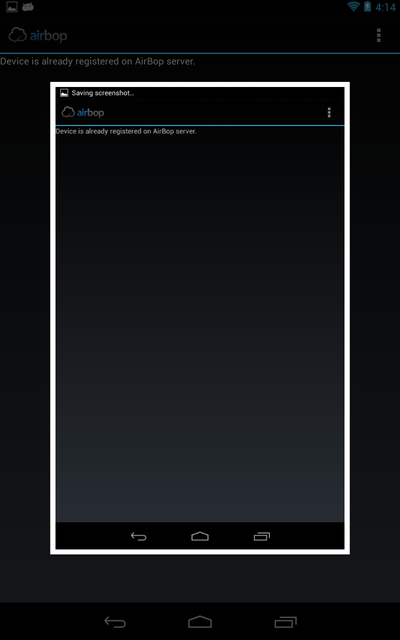
2. After a few seconds your screen will flash and you will see something like the following:

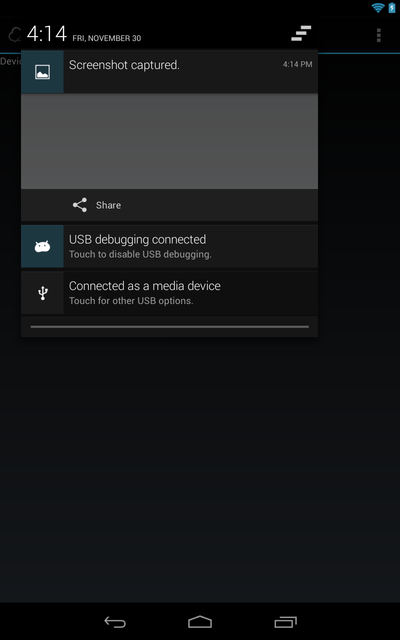
3. Now you can access the screen shot via the notifications or using the Gallery app. The screenshots are located within the "Screenshot" album.
Notification:

Gallery App:

4. Email yourself the image if you want to access it on your desktop computer.
Pre Android 4.0
We have also made a more detailed post on our blog: Taking Screenshots of your Android App
Install the Android SDK
In order to take screenshots, you will first need to download and install the Android SDK on your PC. Take note of where you installed it because you will need to locate it in a later step.
Turn on USB Debugging
Before connecting your phone/tablet to your computer, you must enable USB Debugging so that the Android tool DDMS can interact with it. You can do this by selecting Settings > Applications > Development on your phone or tablet and enabling the USB Debugging option.


Install your Application
If you haven't already done so, install your application on your phone/tablet. For further details, see the article: How to install your App onto a device.
Connect your Phone/Tablet to your PC
Connect your phone/tablet to your PC using the supplied USB cable.
Run the DDMS Android Tool
Browse to the "tools" folder of the Android SDK on your PC, located in \android-sdk-windows\tools. Locate the file named ddms (with extension, ddms.bat), and double click it to launch the DDMS (Dalvik Debug Monitor Service).


Take Screen Captures
Now you're ready to take screenshots of your application. First make sure your device is listed and selected under 'Name'. Under the Device menu, select Screen capture.... This will open a Device Screen Capture window that will show the current screen of your phone/tablet.

Each time you want to take a screenshot of your application, first click the Refresh button to update it to the current screen, then click the Save button to save the capture to an image file (.png image).
.png)
Repeat this process for as many images as you like, and when you're finished, simply click the Done button to close the Device Screen Capture window, followed by closing the Dalvik Debug Monitor window.